

Creating the Cards
A review of my artistic process and tools for creating my indie tarot deck, Tarot of These Times
As I prepare for this journey - creating the art that will become my tarot deck - I am gathering the supplies I will need to create these 78 unique pieces of art. I want to keep the process and materials consistent, so that the illustrations will look like they belong together as a collection.
Not all artists share the nuts and bolts of their creative process. When I was learning to make art later in life, I was hungry for information about HOW to actually do it. So, here it is! Every illustrator has a different process, and this is mine.
The Sketchbook
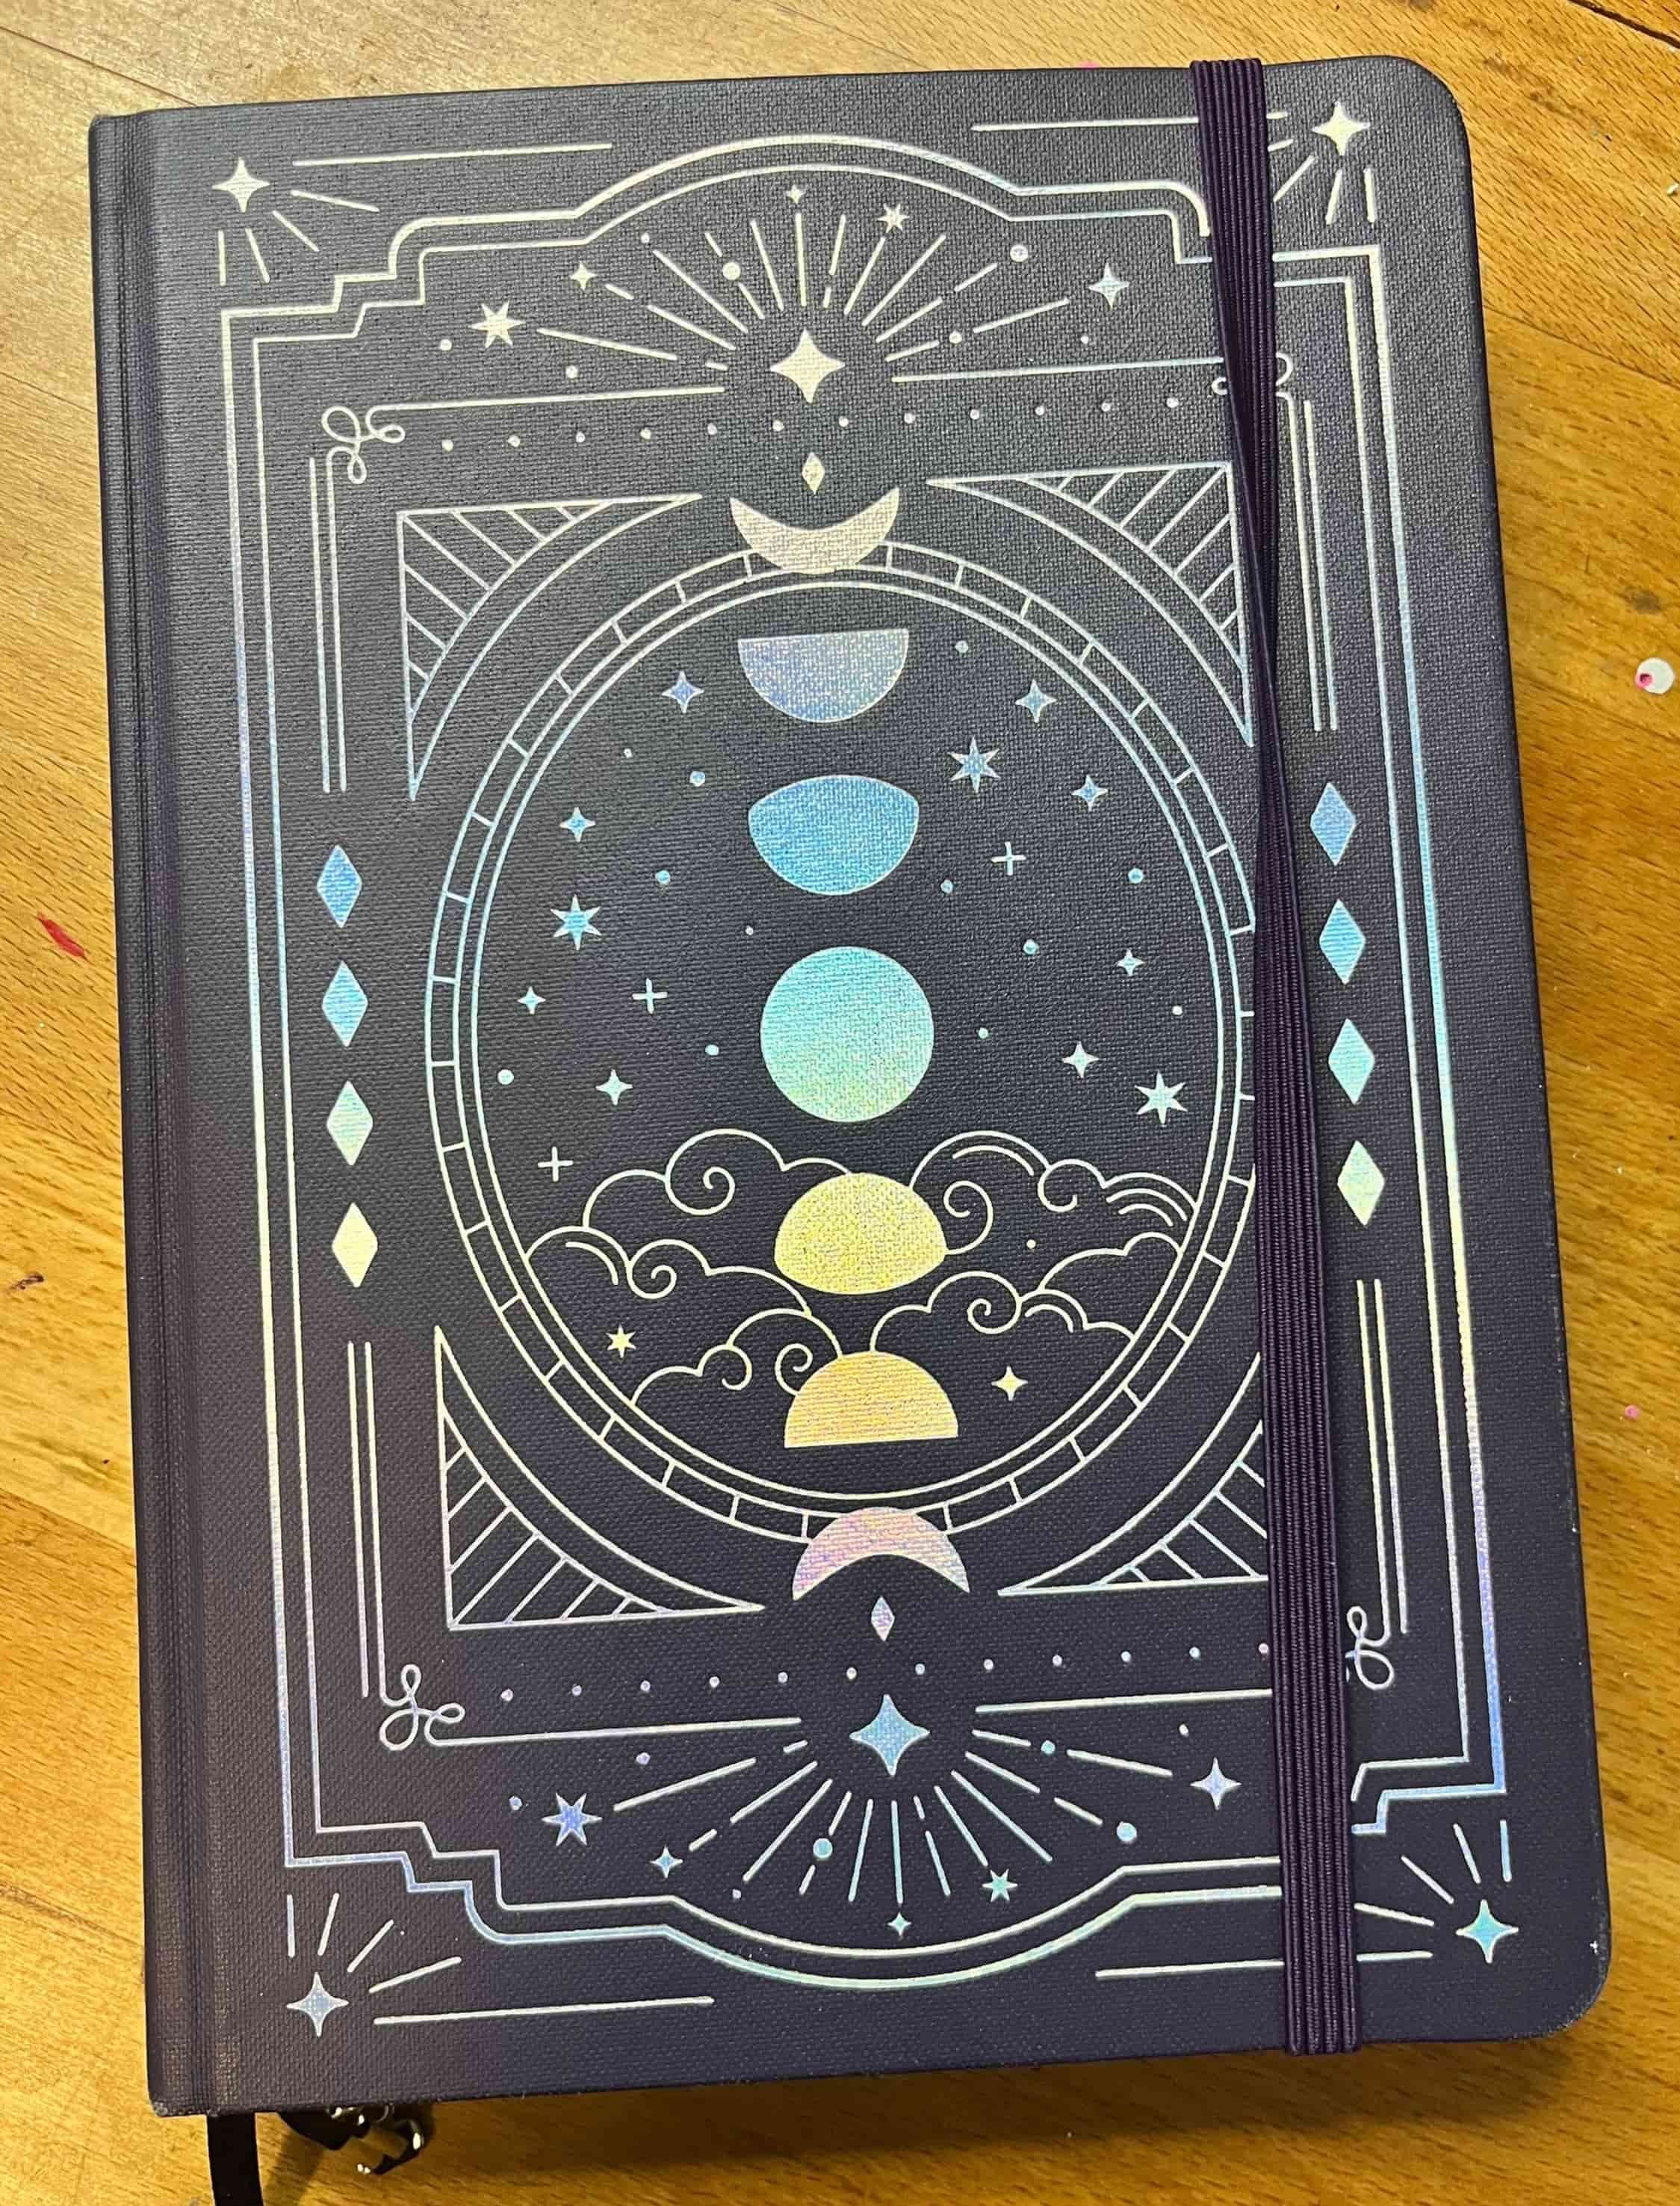
I love the Archer & Olive sketchbooks, and I purchased a special one last year to house my tarot deck sketches. This is what I will be sharing with you in this blog, one sketch at a time.
I use a hybrid analog-digital process. As you know, I have some barriers with my eyes (read more about that here) that make it difficult for me to stare at a screen, light source, or see up-close well. So created my own process that makes it a little easier on my eyes.
A ten-step process is born
An important part of my illustration style is bold, hand-drawn line work combined with bright, hand-painted watercolor. Each of the 78 illustrations in my deck will go through the following ten steps.
Draw my conceptual sketch on paper (this is the step I have completed already, whew!)
Take a photo of the sketch.
Upload the photo of the sketch to Procreate* app on my iPad Pro.
Create a “layer” on top of the sketch in Procreate to re-draw all the lines in the sketch, using an Apple Pencil. (This is similar to using a light box, for those of you familiar with that process,)
Export my new drawing from Procreate to my computer.
Print the drawing on hot-press watercolor paper.
Paint the drawing with watercolor. For this project, I am experimenting with liquid watercolor inks from Ecoline for vivid colors. More on that later!
Scan the artwork, which now includes my drawing and painting in one piece. I scan at high resolution so that I can make larger prints of the artwork later.
Use Photoshop to make any adjustments to make the scanned artwork look like the original, real painting. Sometimes the scanner dulls the colors, or there may be a hair from my paintbrush in the painting. I can correct these in Photoshop while staying true to the original piece of art.
Complete the layout of the cards in InDesign to prepare digital files to send to the Printer. For this project, I will need to make each illustration the exact same size and shape to fit on a card.
As you can see, so much of the process to create a surface design for print is the ability to digitize original artwork. This is how I can get these arts into your hands, while maintaining the most control over how it looks at each stage of the process.
“You need good tools.” - my Dad
I have thought a lot about how I want to create my deck. Many artists use digital tools only, others only paint, collage, or photos. I have settled on a unique combination of art supplies and tools that supports the process I outlined above. More importantly, I think it will give my deck a unique look that will showcase my personal artistic style.
Here’s what I’ll be using to create my deck.
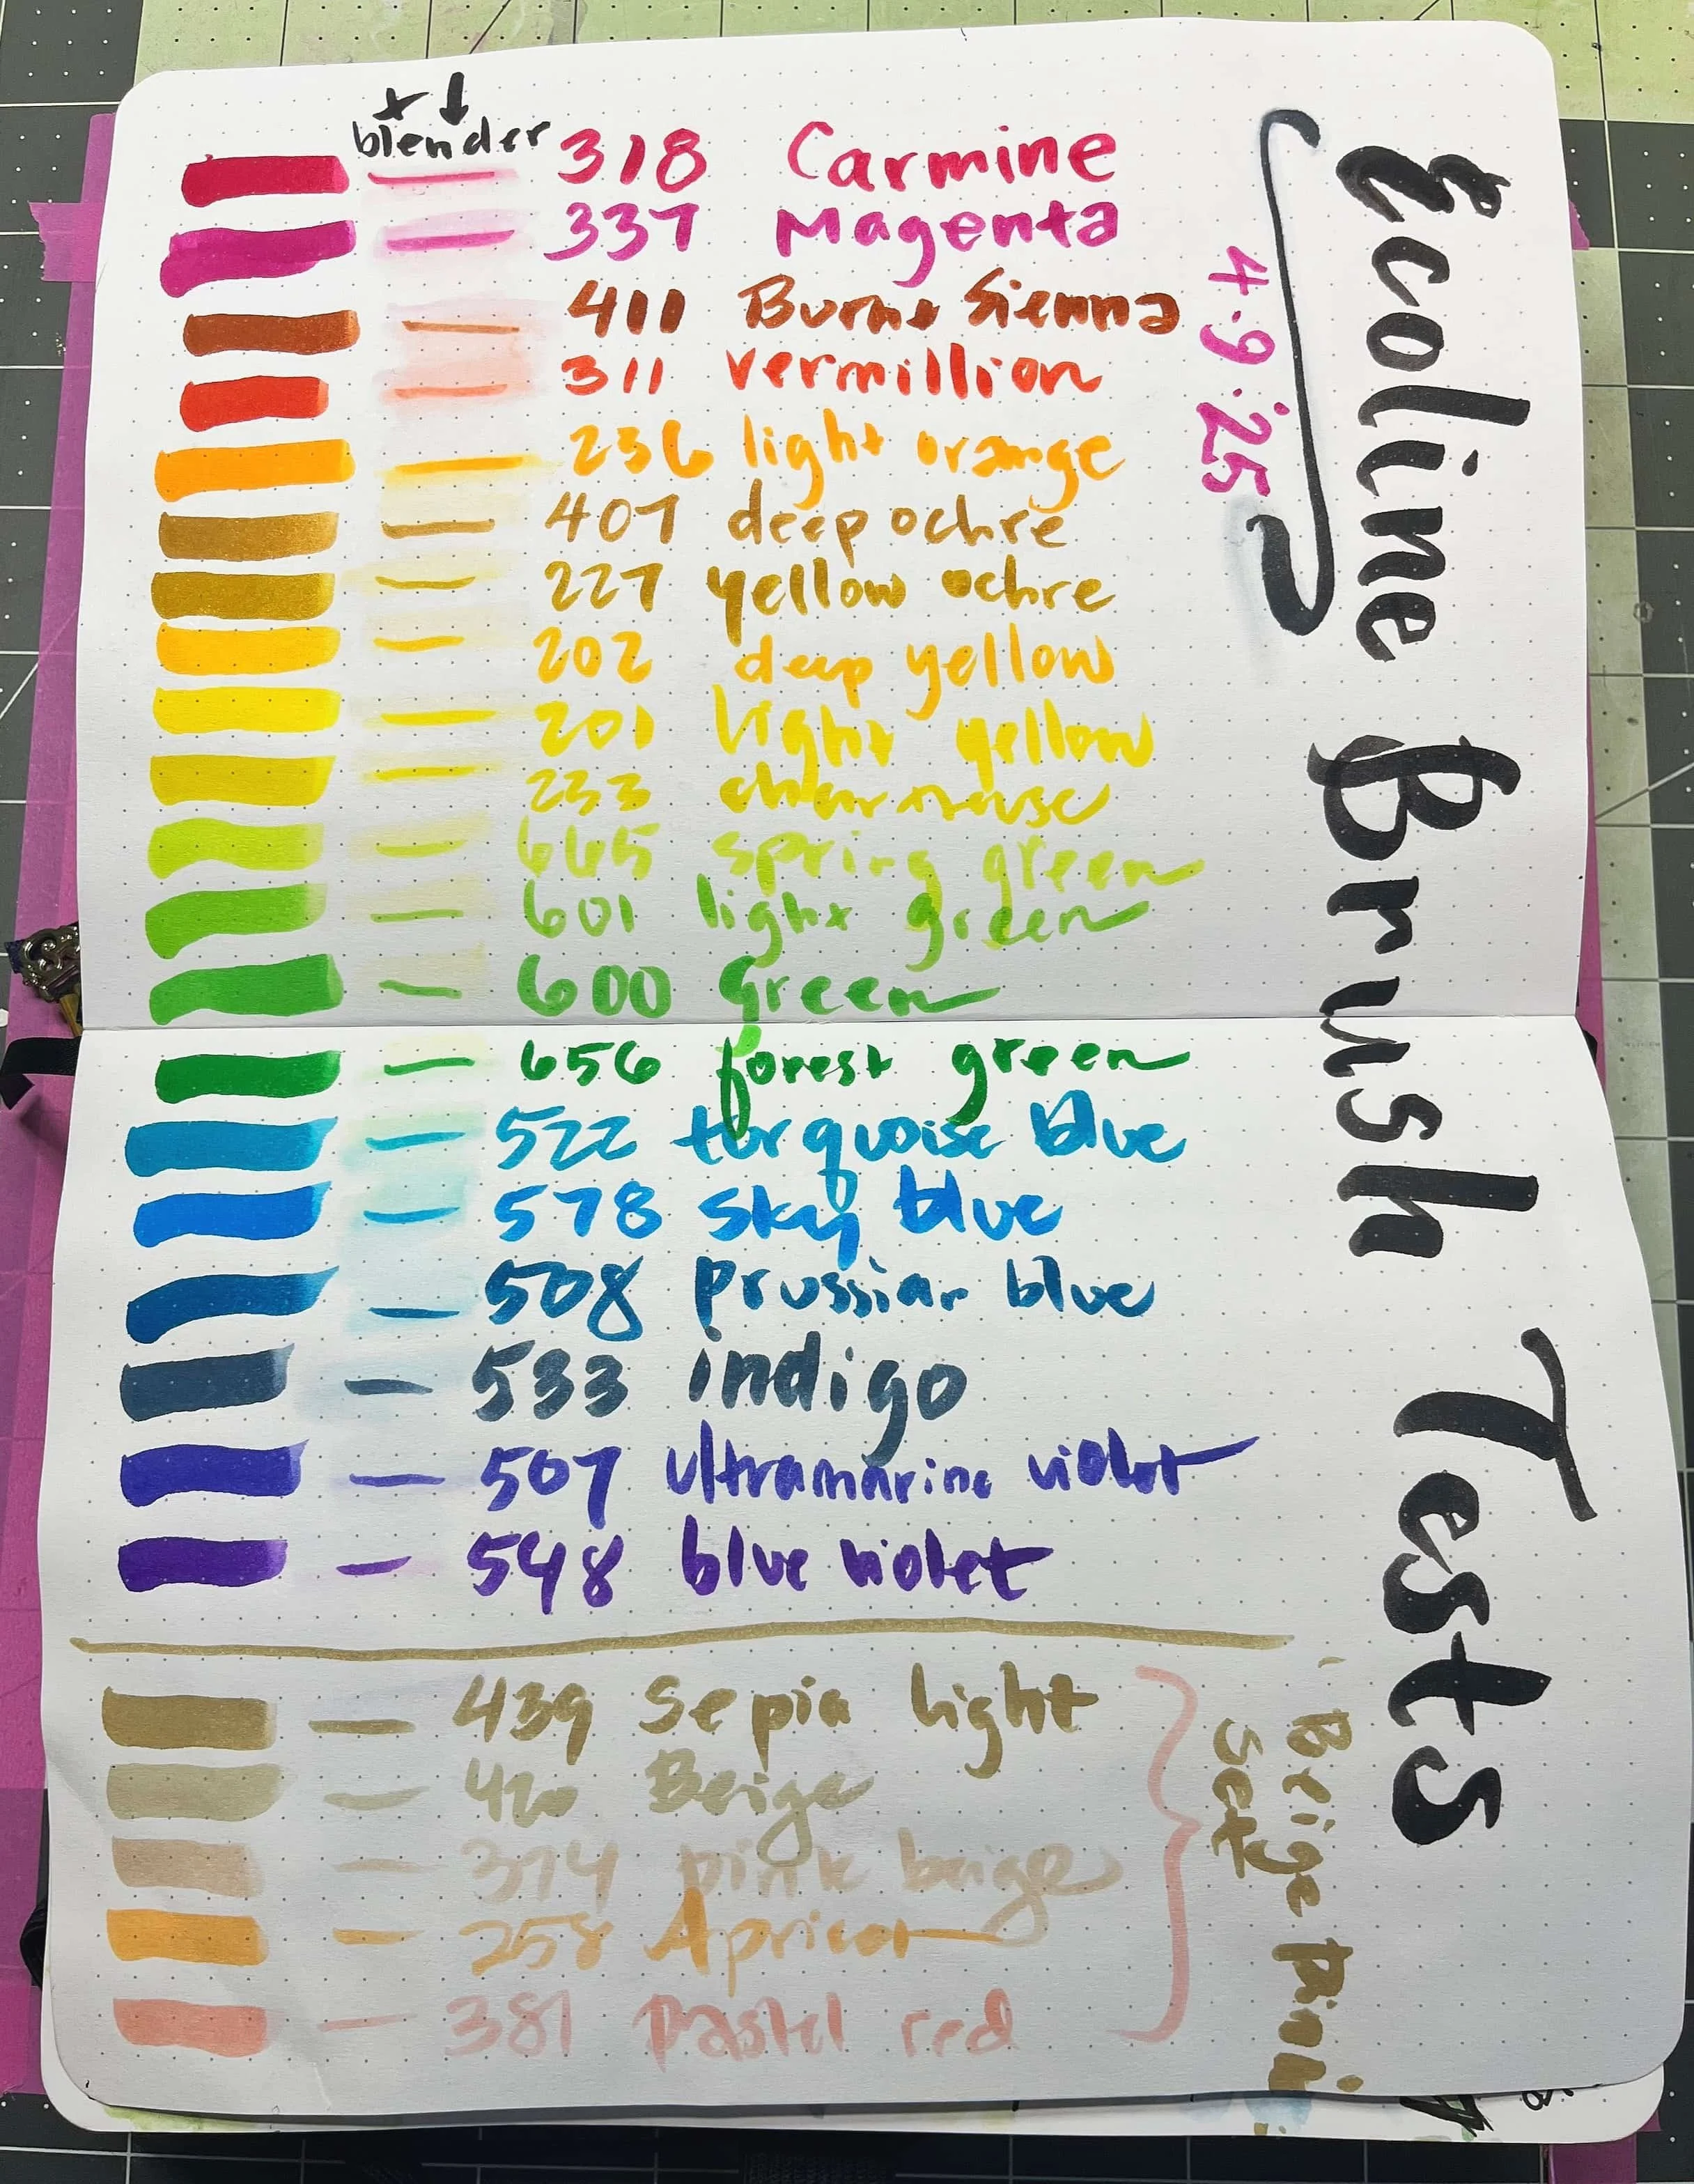
I love color, can you tell? Here is the page from my sketchbook where I swatched all of the colors from my new Ecoline watercolor brush pen set.
Art supplies
Blick hot-press 100% cotton watercolor paper, 9”x12”.
Ecoline liquid watercolor - both he liquid in glass bottles and the paint markers (here are the color swatches I created).
Windsor & Newton masking fluid - for areas of the painting that I want to keep white. With watercolor, there is no such thing as white paint; areas that are white in the illustration are white from the paper itself. Masking fluid protects the white areas, and its removed after painting.
Staedtler pigment monoline pens - For anywhere I want to add detail after printing my drawing and before painting, this is the drawing pen I will use. They are waterproof when dry, and work well over rough watercolor paper, which is actually cotton, not paper.
Gotta test those colors
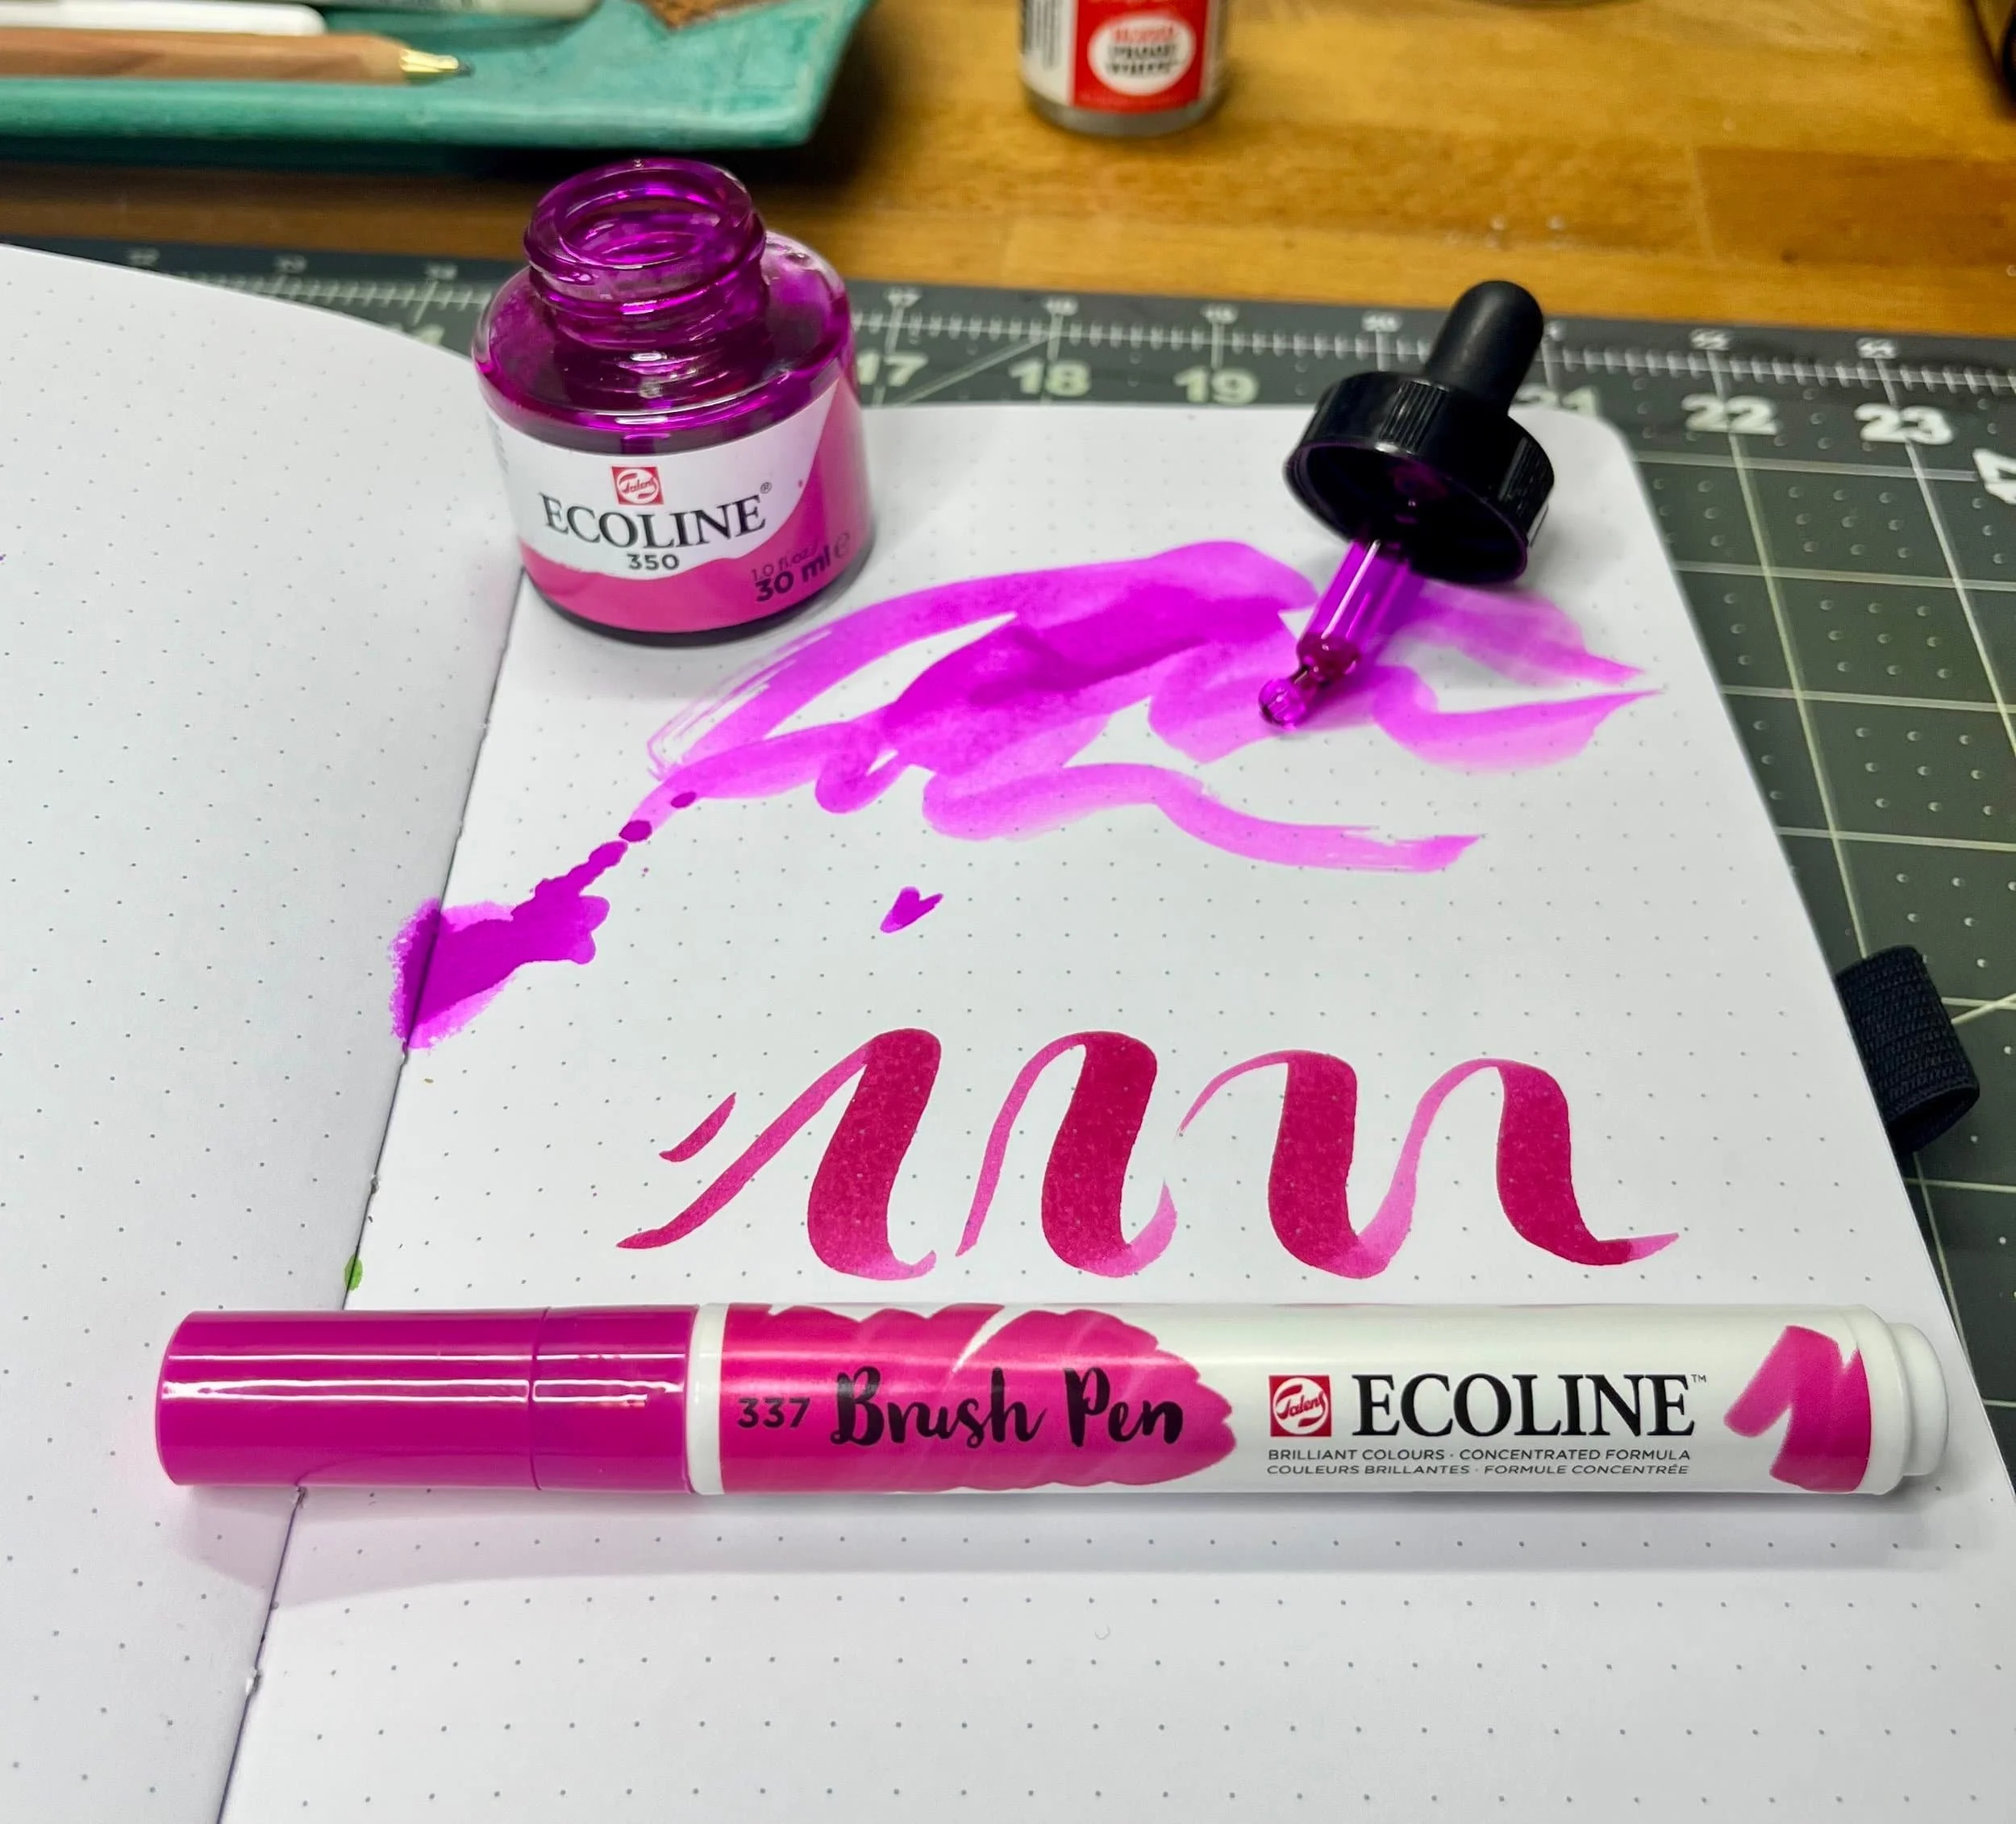
Even within brands, colors can vary a lot. In this photo, I tested the Ecoline color 350 Magenta in two different formats - liquid watercolor and watercolor brush pen. The colors are both beautiful, but one is cool and one is warm.
Equipment
Epson Workforce Pro printer with Dura Brite ink (waterproof when dry, I can paint over this) - this printer is a game-changer for me. I love it. It also has a large scanning bed and scans watercolor well, and is true-to-color.
Mac Studio computer: I upgraded to the Studio last year so that I can run multiple Adobe Creative Cloud programs at the same time without crashing my computer. Definitely helpful for this project!
Apple iPad Pro and Apple Pencil 2nd gen.
Software
Procreate*, an app designed for iPad and Apple Pencil, how I draw on my iPad
Adobe Photoshop for editing the scans of the final artwork
Adobe InDesign for laying out the artwork into a print-ready image file for the cards
Up Next
Next week, I will post about my first card in the deck, Card 0, The Fool.
Leave a comment
I read every comment, and I love to hear from you!
*A note about Procreate for software geeks
Procreate is an app for iPad that is the leading digital illustration tool at this time. It took me a while to learn how to use it, but now I am a huge fan. I don’t know how to do complex illustrations using it, but that’s ok.
It works like a digital version of an overhead projector (remember those??) With an overhead, we would draw or write on the clear plastic transparencies. We’d stack transparencies on top of each other to create more complex images, creating layers that you see through to create a single image the audience sees on the projector screen.
Procreate does essentially the same thing, but digitally. Each “layer” in Procreate stacks on the one below it, creating more complex images. Some illustrators have 300 layers to their artwork in Procreate! I typically will only have around 10. I create a new layer for each element in the illustration so that I can move them around until I like my drawing. Sort of like erasing and redrawing something elsewhere on the page. This saves time and energy.